
Is Your Dental Implant Covered by Insurance? How to Check
The question that stalls almost every implant decision is simple: does dental implant covered by insurance apply to my plan, or am I paying the whole bill myself? You will not find the answer by guessing, and you will not find it in a headline about most plans. The real answer sits inside your plan documents and one careful phone call, and this guide shows you exactly how to get it.
Think of this as a verification checklist. You need your plan paperwork, the right questions, and the correct procedure codes. Set aside 30 to 45 minutes and work through each step in order. When you finish, you will know what your plan pays toward an implant, what it excludes, and your next move if the news is bad. If you want background on how plans treat implants in general, read our guide to insurance coverage basics first.
Quick answer: Check your coverage in three moves. First, read your Summary of Benefits for implant language and major-service percentages. Second, call your insurer and ask about codes D6010 and D6058 by name. Third, have your dentist submit a pre-determination before any work begins. Written answers beat verbal promises, so get everything in writing.

Step 1: Gather Your Documents Before You Call
Insurers ask for details fast, and fumbling for paperwork during the call wastes your one shot at a clear answer. Pull these together first.
Your member ID card
Have your dental member ID number, the plan name, and the group number if your coverage comes through an employer. The ID card usually shows the member services phone number. Use the number on your card, not a number from a search result, so you reach the right department.
Your Summary of Benefits
Log in to your insurer’s member portal and download the Summary of Benefits and Coverage, sometimes labeled benefit booklet or plan summary. This is the document that controls what the plan pays. Save a copy on your computer and print the pages that mention major services. You will mark them up in the next step.
Any recent Explanation of Benefits forms
If you have had dental work this year, pull the EOBs from the portal. They show how much of your annual maximum you have already used, which directly affects what is left for an implant. We show you how to read one later in this guide.
Step 2: Read Your Summary of Benefits for Implant Language
Plan booklets are written in dense legal language, but you only need to find a handful of terms. Open the document and search for each of the following.
| Search term | What you are looking for |
|---|---|
| Implant | Whether implants are listed as covered or under exclusions |
| Major services | The coverage percentage that usually applies to implants, often 50 percent |
| Annual maximum | The yearly cap on what the plan pays, commonly $1,000 to $2,000 |
| Deductible | What you pay first before the plan pays anything |
| Waiting period | A 6 to 12 month delay before major services are covered on new plans |
| Missing tooth | A clause that can exclude teeth lost before your coverage started |
| Pre-authorization / pre-determination | Whether the plan requires approval before implant surgery |
| Alternate benefit | Language letting the plan pay for a cheaper option instead |
| Exclusions | The section where implants may be named outright |
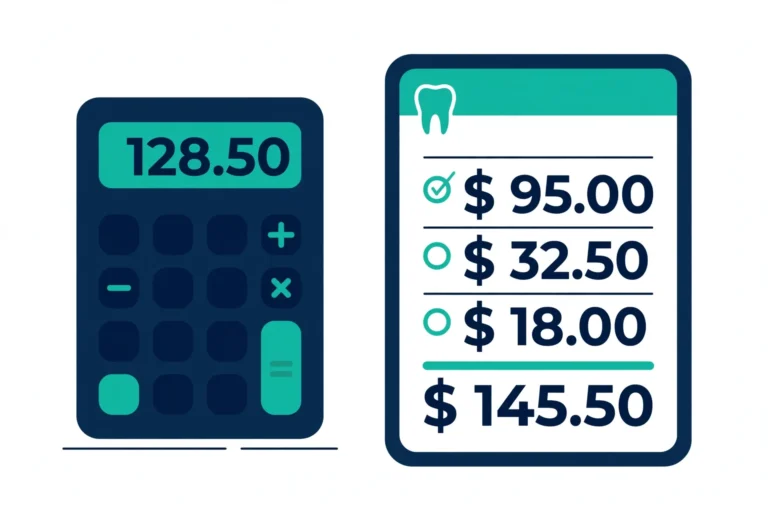
Highlight every hit and note the page number. If the booklet says implants are covered under major services at 50 percent, write that down with the annual maximum next to it. The math is simple but unforgiving: 50 percent of a $4,500 treatment is $2,250, yet a $1,500 annual maximum caps the plan’s share at $1,500. Your real number is whichever is lower. Our breakdown of implant treatment cost can help you plug in realistic figures for each stage.
Step 3: Call Your Insurer With This Exact Checklist
Booklets leave gaps, and only the insurer can confirm how the rules apply to you personally. Call member services and work through these questions one by one. Ask about each code by number, because a general question about implants gets vague answers while codes get specific ones.
- Is code D6010, surgical placement of the implant body, a covered benefit under my plan?
- Is code D6058, the abutment-supported crown, covered, and at what percentage?
- What is my plan’s coverage percentage for major services, and how much of my annual maximum remains this year?
- Is there a waiting period for major services, and has mine been satisfied?
- Does a missing tooth clause apply to the tooth I want replaced?
- Does my plan require pre-determination or pre-authorization before implant surgery?
- Are there frequency limits or a lifetime maximum for implant benefits?
- Does my plan include an alternate benefit clause that would pay for a bridge instead?
Write down every answer with the date, the representative’s name, and a reference number for the call. If a claim is disputed later, this record is your evidence. If the representative sounds unsure, ask to speak with a benefits specialist or request the answer in writing through the member portal.
Step 4: Use the Right ADA Procedure Codes
Dental offices bill using CDT procedure codes maintained by the American Dental Association. When you and the insurer talk about the same codes, misunderstandings drop sharply. These are the codes that come up most often in implant treatment.
| Code | What it means |
|---|---|
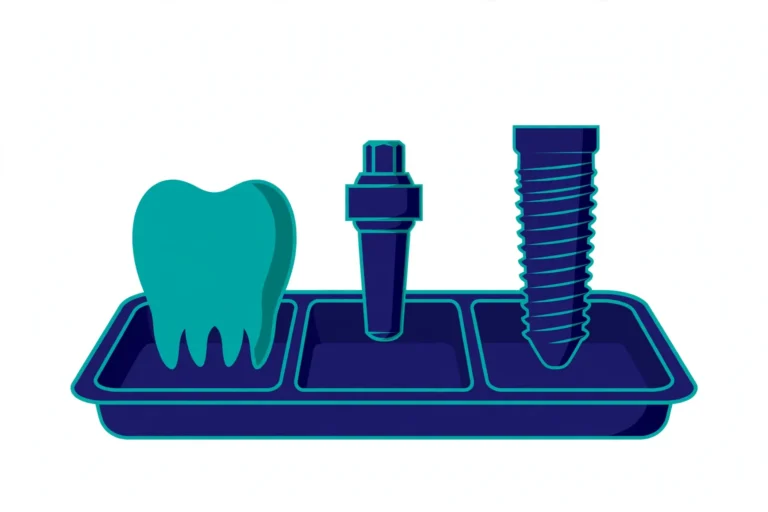
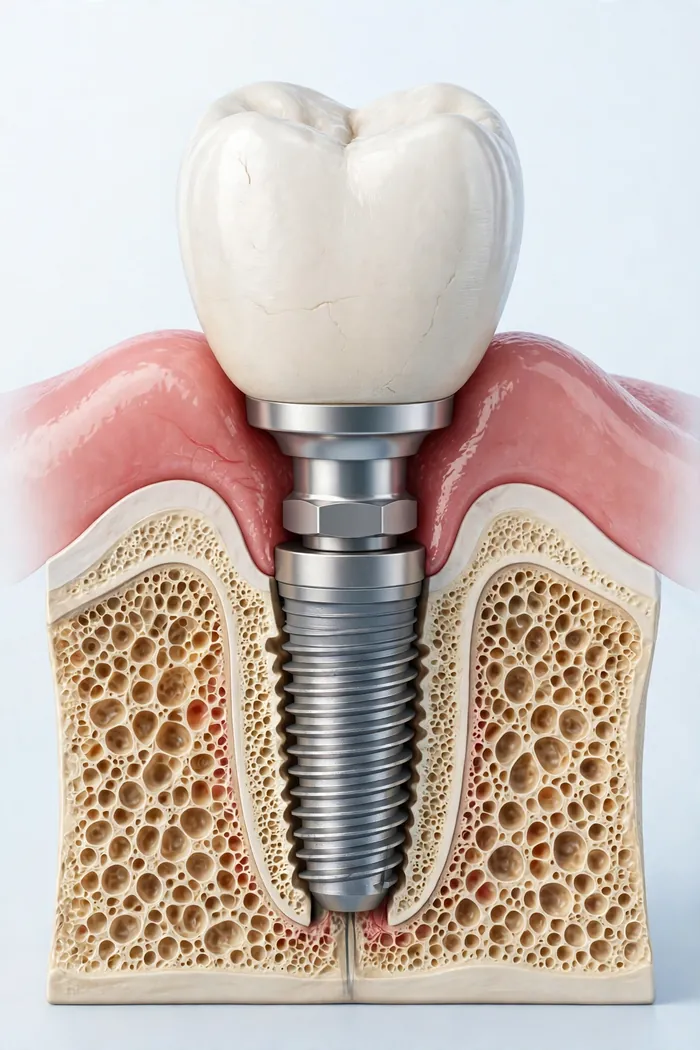
| D6010 | Surgical placement of the implant body, the titanium post in the jawbone |
| D6058 | Abutment-supported porcelain or ceramic crown, the visible tooth |
| D6057 | Custom abutment that connects the post to the crown |
| D6104 | Bone graft placed at the time of implant surgery, if needed |
| D7140 | Extraction of an erupted tooth, if the damaged tooth is still present |
Ask your dentist’s office for a written treatment plan that lists the exact codes for your case. Plans often cover some codes and exclude others, so a per-code breakdown is far more useful than a single yes or no. Knowing the codes also lets you compare the plan’s payment against realistic implant price ranges before you commit.
Step 5: Get a Pre-Determination Before Treatment Starts
A pre-determination, sometimes called pre-authorization, is a written estimate from your insurer showing what it will pay for your planned treatment. It is the single most important piece of paper in this whole process. Here is how it works.
- Your dentist sends the insurer a treatment plan with the procedure codes, X-rays, and clinical notes explaining why the implant is needed.
- The insurer reviews the submission, which often takes two to four weeks.
- You receive a written statement showing the plan’s payment, your deductible, and your estimated out-of-pocket share.
- Only then do you schedule the surgery, with the numbers in hand.
Ask the dental office to request it. They do this routinely and know what documentation each insurer wants. Keep a copy of the pre-determination with your records. Treat it as a strong estimate, not a guarantee. If your coverage lapses or plan terms change before treatment, the final payment can differ.
Step 6: Read Your Explanation of Benefits Like a Pro
After each stage of treatment, the insurer sends an Explanation of Benefits. It is not a bill. It is a receipt that shows how the plan processed the claim. Here is how to read each line.
- Billed amount: what the dental office charged.
- Allowed amount: the fee the insurer recognizes, often lower than the billed amount.
- Deductible applied: the part taken from your yearly deductible.
- Plan paid: what the insurer is sending to the office.
- Patient responsibility: what you owe.
- Remark codes: short notes explaining adjustments or denials.
Watch the remark codes closely. Phrases like not a covered benefit, waiting period not met, or alternate benefit applied tell you exactly why a payment was reduced. If a remark code is unclear, call the number on the EOB and ask for a plain-language explanation. Compare each EOB against your pre-determination. The numbers should match closely.
When the Answer Is Unclear or You Get a Denial
Sometimes the process ends with a shrug or a no. That is not the end of the road. It is the start of a different checklist.
- Get the denial in writing. Ask which exact plan language the decision was based on, and keep the letter.
- Ask your dental office for help. Front-desk teams handle denials every week and know what documentation tends to change the outcome.
- Check whether timing is the problem. A waiting period that ends next month or a new benefit year in January can turn a no into a yes.
- Ask about partial payment. Some plans deny the implant post but still pay for the crown, the extraction, or the bone graft, which can cut your cost noticeably.
- Review your options at open enrollment. If your current plan excludes implants, the next enrollment window is your chance to switch. See our guide to choosing an implant plan before you pick.
Stay polite and persistent on every call. Representatives respond better to calm, specific questions than to frustration, and every answer goes into your written record.
Frequently Asked Questions
How long does it take to check whether your dental implant is covered by insurance?
The paperwork review and phone call take under an hour. A pre-determination from your insurer often takes two to four weeks. Start the process well before you want treatment, so waiting periods and paperwork do not delay your surgery date.
Can my dentist’s office check my insurance for me?
Yes, and most offices do it as a routine service. They can verify your benefits, submit the pre-determination, and explain your estimated share. Still do your own check too, because the final responsibility for the bill is yours.
What if my plan covers the crown but not the implant post?
This is one of the most common outcomes. You pay for the surgical placement out of pocket while the plan pays its share of the crown at the major-service rate. Ask for the per-code breakdown so you can see exactly which parts the plan helps with.
Does a pre-determination guarantee the insurer will pay?
No. It is a written estimate based on your current plan terms. If your coverage ends, your plan changes, or you use up your annual maximum on other work first, the final payment can be lower. Treat it as the best available forecast, not a promise.
What is an alternate benefit clause?
It lets the plan pay what a cheaper treatment would have cost, such as a bridge or partial denture, instead of the implant. You can still get the implant, but you pay the difference between the plan’s payment and the implant’s cost. Look for this language in your benefit booklet.
Should I split implant treatment across two calendar years?
It can help when your annual maximum is the limiting factor. Having the extraction and bone graft done late in one year and the implant placed early the next lets you use two years of benefits. Confirm the timing with both your dentist and your insurer first.
The Bottom Line
Checking whether your dental implant is covered by insurance comes down to documents, codes, and one careful phone call. Read your Summary of Benefits, ask about D6010 and D6058 by name, and get a pre-determination in writing before treatment begins. Each step takes a little time, and each one protects you from a surprise bill.
If the answer is no, you still have moves: partial coverage of related codes, better timing, or a different plan at open enrollment. The patients who overpay are usually the ones who never checked. You just did.
This article is for informational purposes only and is not medical or insurance advice. Dental plan terms vary widely, and coverage decisions are made by your insurer based on your specific policy. Talk to your dentist and your insurance company before starting treatment.
About Rankex Solutions
Rankex Solutions works on local SEO and Google Business Profile optimization for businesses in the UAE and the US. Its background is in rank-and-rent SEO and freelance search marketing.